
I’ve spent the last few days in Melbourne at a conference. Melbourne is a place I always enjoy visiting not least because it’s the home of AB figures at Eureka and Nic is always good to me when I call in but also the home of now good friend and wargamer John Baxter.
Now John is a banker (yes I did day B) but his other role in life is as an enforcer at Eureka. Not only did he kindly take me there but he also had the foresight to drop my wife off at a nearby shopping centre. Once inside the doors at Eureka, he’s like the most diligent waiter you’ve ever come across and constantly brings you a supply of figures from all sorts of nooks and crannies and metaphorically picks you up, tips you upside down and shakes you until you leave all your money there!
Needless to say I bought quite a bit and will no doubt get around to painting them in the next few months and hopefully display them here when finished.
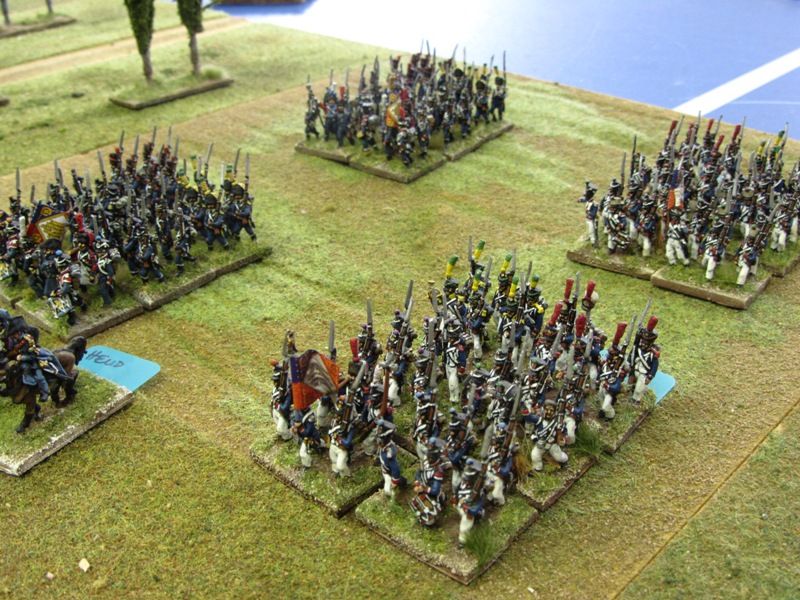
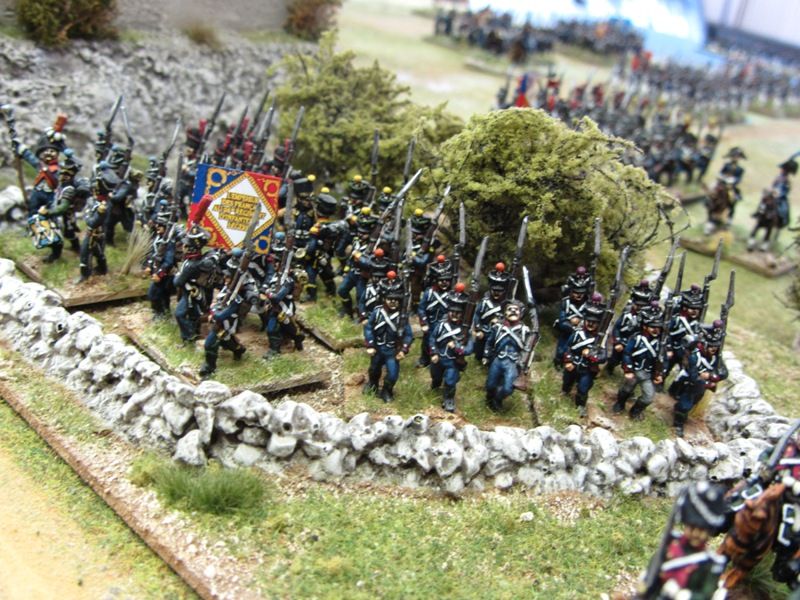
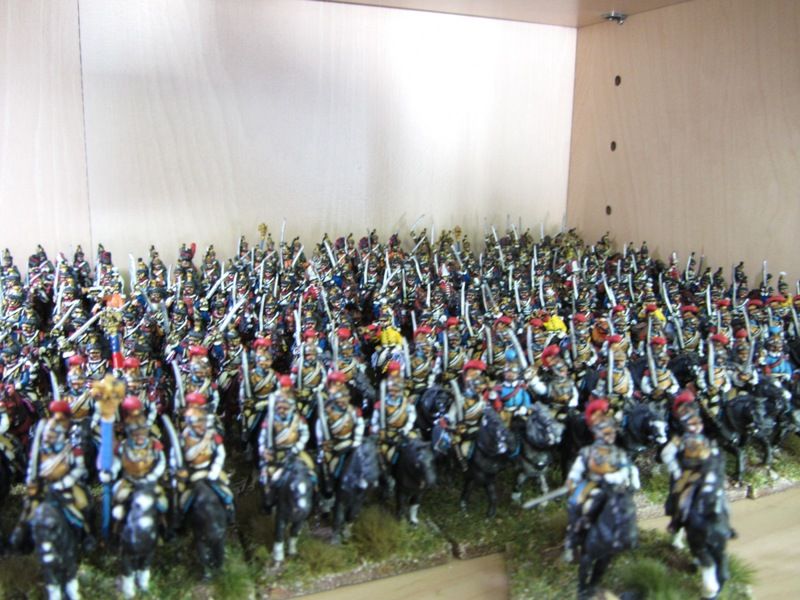
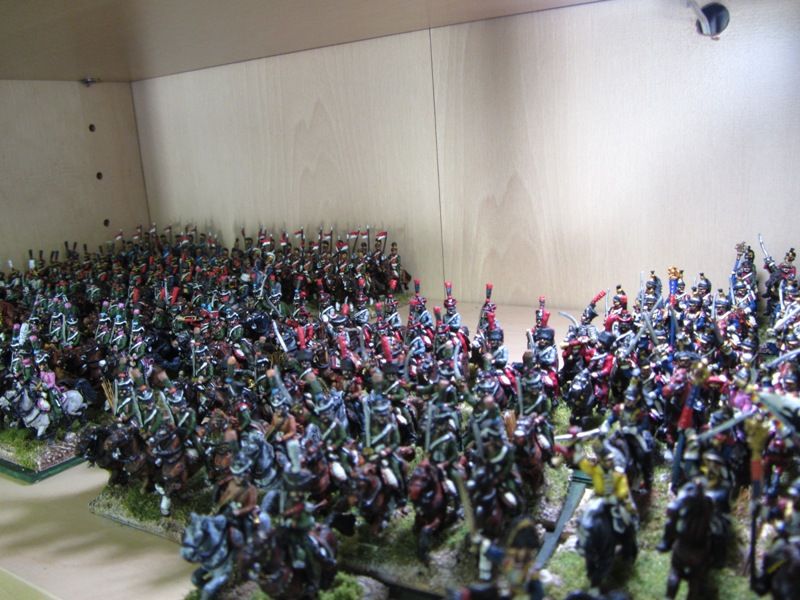
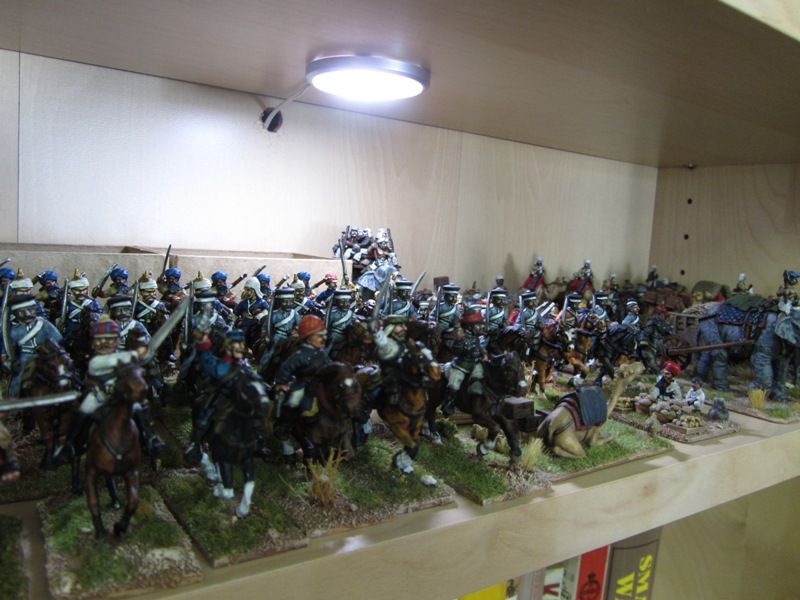
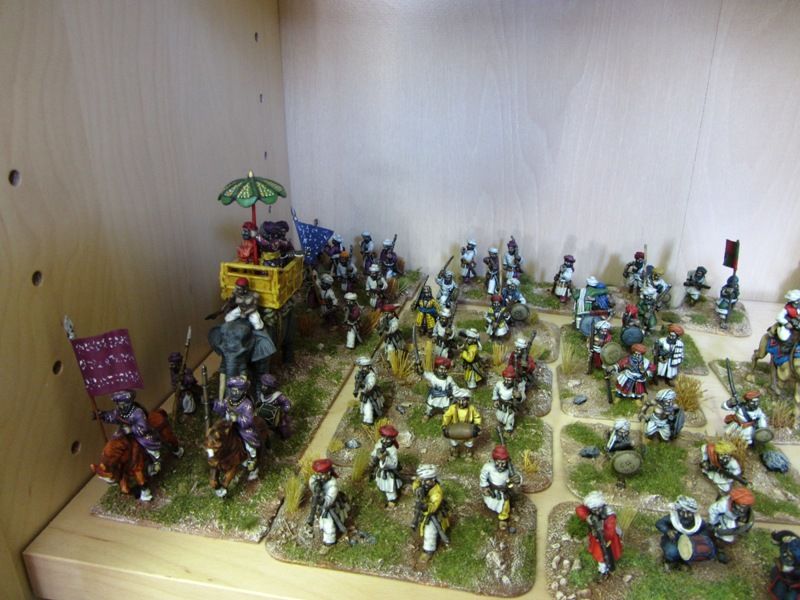
I’ve been over quite a few times in past years and often had the pleasure of viewing John’s impressive collection of figures but this year when he invited me around for a game on Sunday I took a few pictures of both the game and his collection.
There is no truth in the rumour that with such a high level game between an Australian and a “nearly- Kiwi” he repainted his Napoleonics into a green & gold army and an army in black. Neither was there any blood spilled!
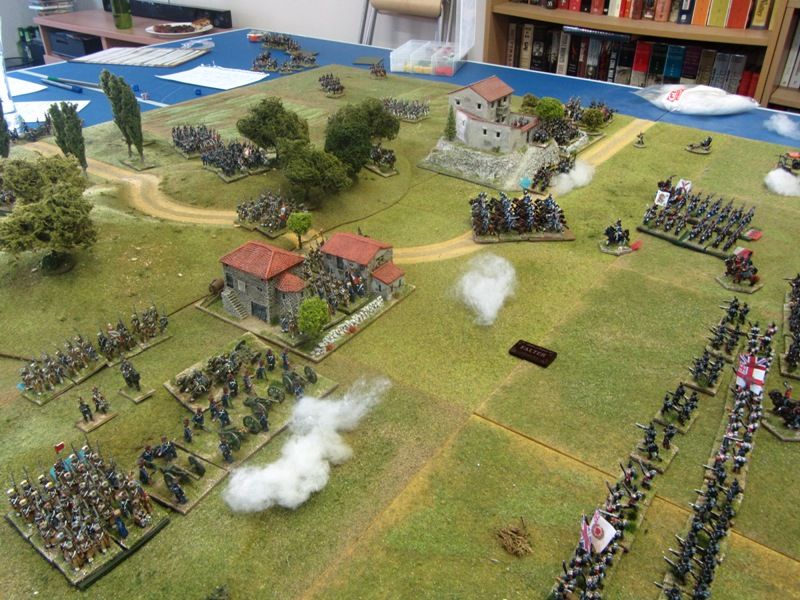
John set up a Napoleonic Peninsula game on a lovely looking table and we diced for sides.
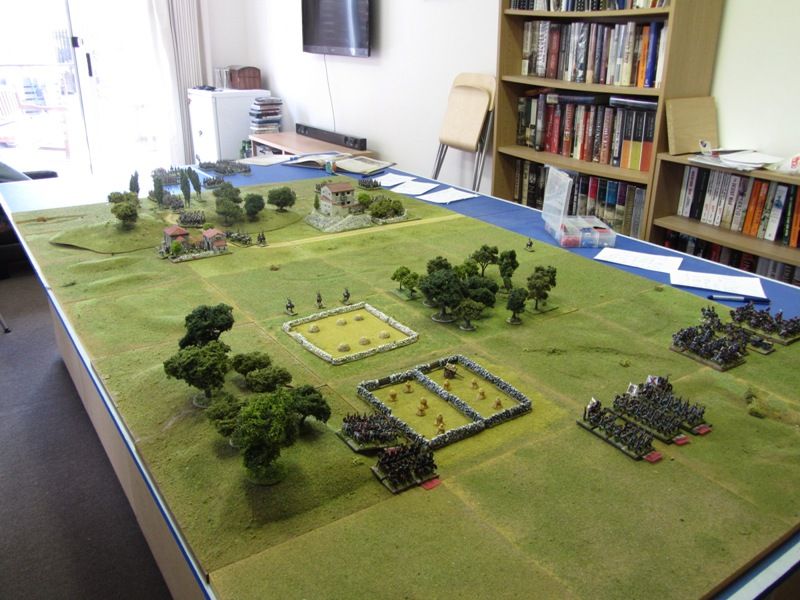
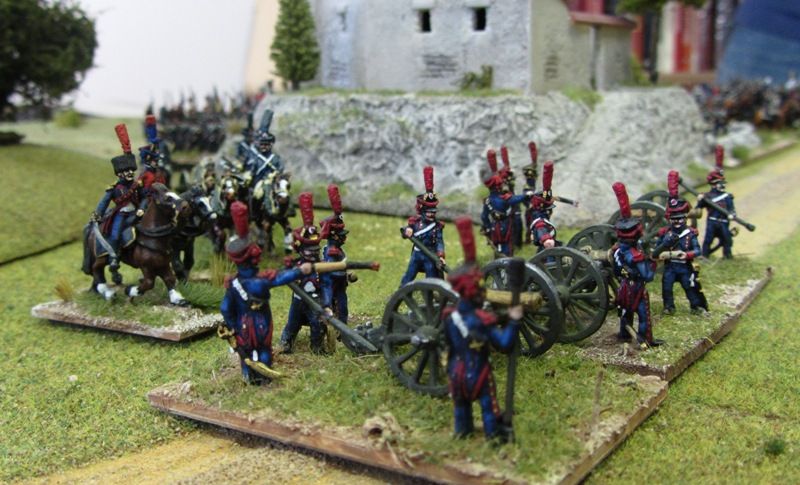
I drew the Anglo -Spanish side, starting the game with a Spanish infantry brigade of dubious quality with some dodgy attached light cavalry and a good quality British light cavalry brigade. The Light division followed in ensuing turns, consisting of 2 brigades of high morale battalions of rifleman, cacadores and light infantry. The rules we used were General de Brigade.
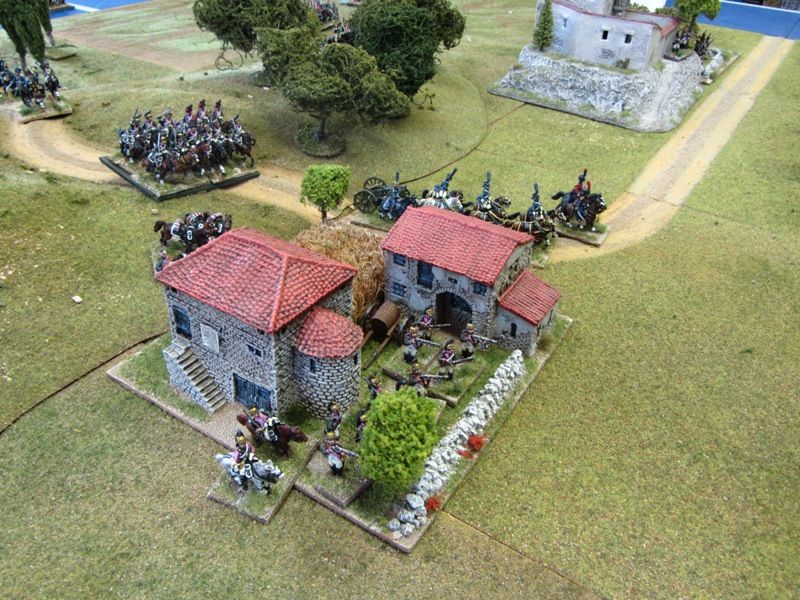
The Australians… err I mean French – were defending a village and a very luxurious looking villa with some dragoons and a few infantry, though more infantry were scheduled to arrive on later turns.
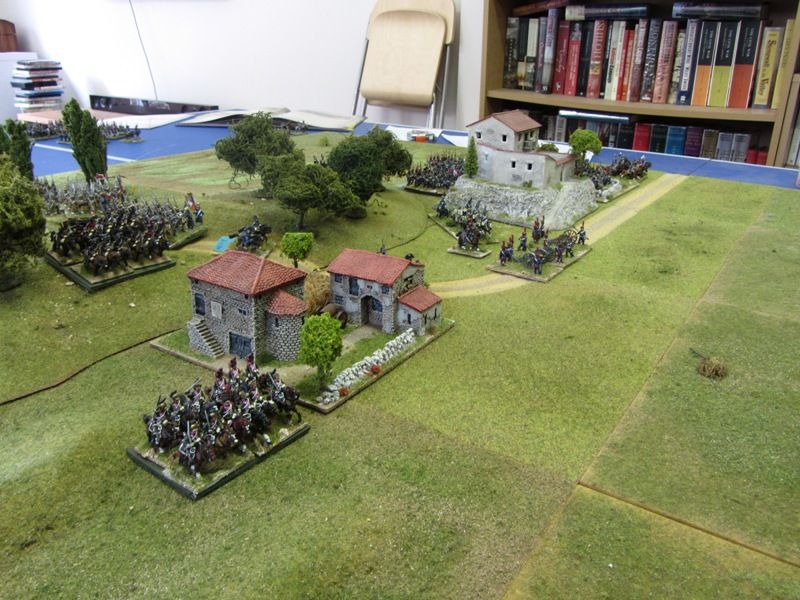
My intention was to try and keep the Spanish out of harm’s way but use them to draw some artillery fire and use my cavalry to try and clear away their French equivalents. I didn’t think I had any hope of taking both built up areas but planned to use the light division to take the buildings on the left of my line. The first task though was to move to the edge of the woods and clear the advancing French dragoons so the light division could advance safely.
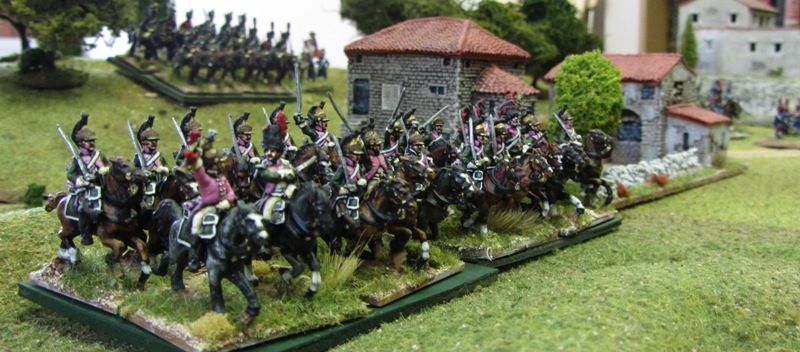
Needless to say the French Dragons saw an opportunity to charge the Spanish cavalry and did so. My lancers decided that discretion was the better part of valour and legged it. This left the Spanish hussars to face twice their number of dragoons.

Now as you might expect with a unit that has not only been lovingly painted but also converted (and I may add the subject of an article by JB on the AB Eureka website https://abfigures.com/?fc=module&module=prestablog&controller=blog&id=6
The result was a foregone conclusion- massive casualties and the unit dispersed. Fortunately the brigade morale test was passed and the rest of the Spanish contingent remained where they were.
The dragoons if I recall correctly rallied immediately, then remained in place and by their presence prevented any offensive action by the light division who by this time were arriving on the left table edge. A few turns of stalemate ensued whilst I contented myself in bringing up the 2nd LD Brigade arriving on turn 5.
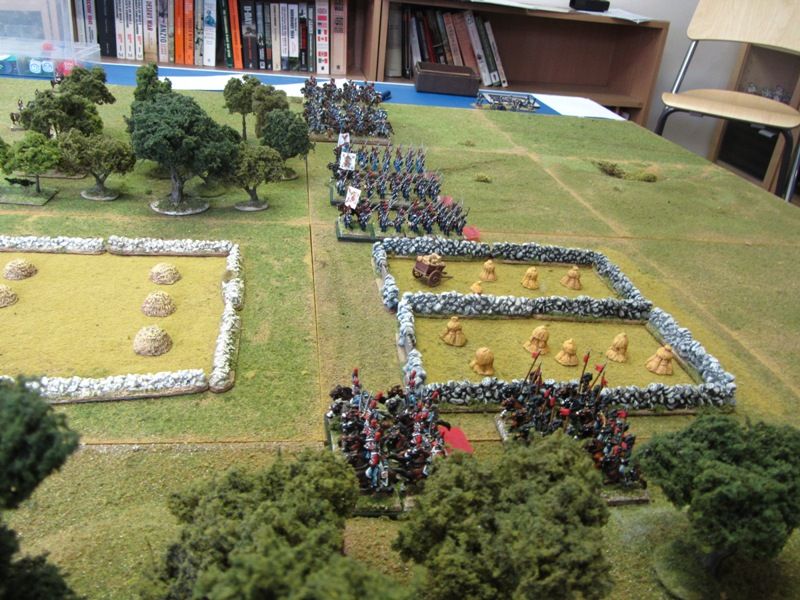
The French by this time had busied themselves occupying the built up areas and deploying their batteries in readiness for the advance of the infantry.
This is where I got a bit stuck in the game- I’m not used to attacking with British and knowing that they would be disordered after coming out of the walled fields and likely to be ridden down by the waiting cavalry I pondered what to do. By this time the 1st Brigade had been forced to form square on the left flank and took 4 casualties from artillery fire.

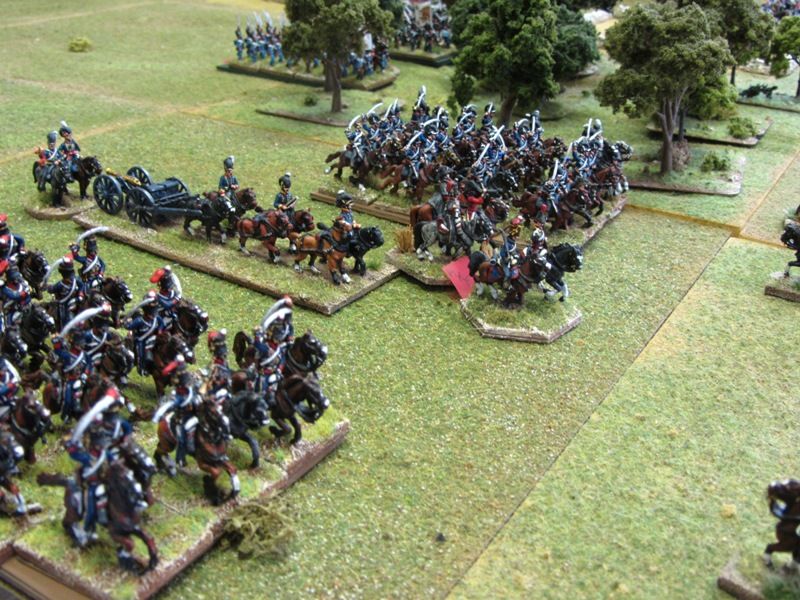
In an attempt to speed up the game I suspect, John threw his dragoons at the suffering square, were it not for the support fire of the 1st /95th its likely they would have been horse meat.
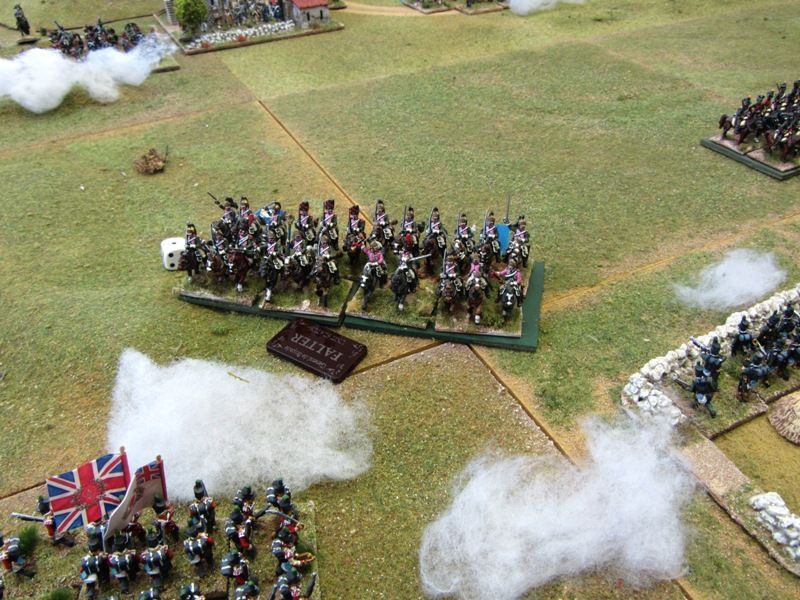
Yes a double six at the time when it was needed. The end result was bye- bye dragoons and hello Monsieur le General (the French general‘s horse bolted and blundered into the British lines leading to his capture.


Mind it wasn’t all bad for the French, some daft general had forgotten to put a Spanish battalion in square and these were charged by a small regiment of chasseurs with predictable results but fortunately with the Spanish retreating rather than routing.
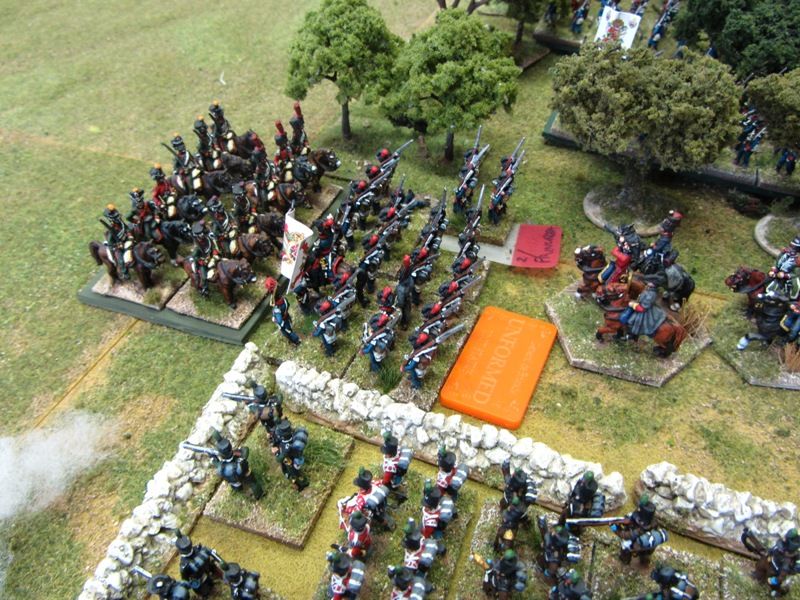
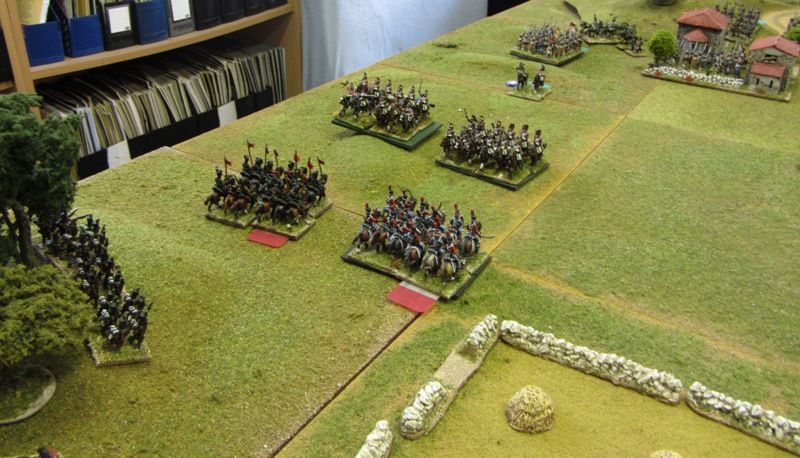
Meanwhile on the right flank the plan to try and clear the remainder of the French dragoons was going on. The supporting RHA did little damage and when the first 2 units clashed – French Dragoons vs. Elite KGL Hussars the outcome was a draw. I then managed to reinforce the melee with a regiment of light dragoons and after this all that remained were dead Frenchmen.

(John hurriedly removed these from the table before I could take an action picture!)
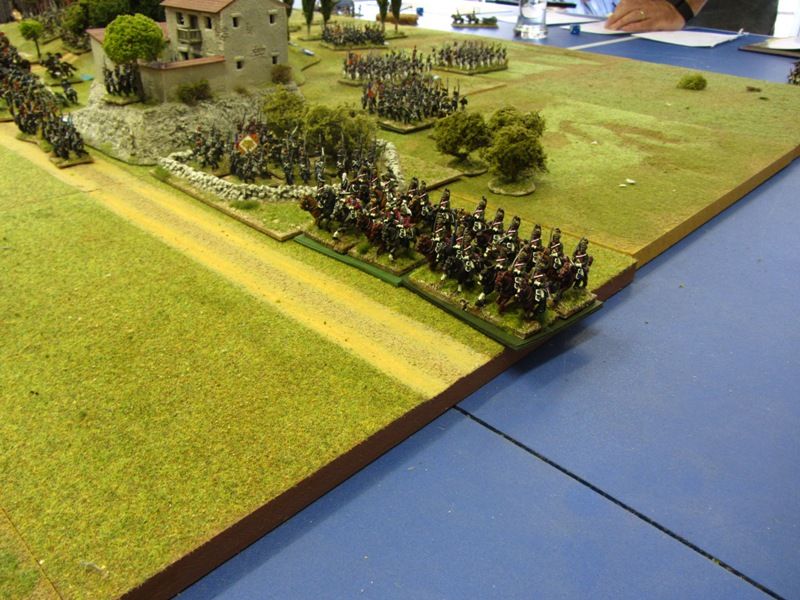
Finally the field was all but clear of threatening French cavalry but we realised pour game time was running out and we telescoped a few moves with the British advancing initially seeing off the small chasseur unit that charged some rifles who were in loose order and the British Light Dragoons riding down the central French battery (again John has removed the evidence but the dragoons in the centre of the picture are where the battery was – honest!)

When we called time a turn or two later it was evident that the British would never succeed in taking the built up areas. The first brigade of the light division had 2 out of 3 battered units whilst the Spanish with only 2 infantry battalions strong enough to attack would not have been robust enough to wrestle their way through a BUA let alone hold it from a counterattack by fresh French infantry in reserve.
The RHA were giving the solitary exposed French infantry battalion on the French left a hard pounding whilst the KGL looked on and were awaiting an opportunity that darkness denied.
In conclusion – the French lost the bulk of their dragoons or cavalry but the Anglo Spanish infantry had paid dearly for their advance and were pretty much beaten up or spent before they had even made an attempt to assault their objective. Pretty much honours even or a close match as they usually are between Trans – Tasman rivals I’d say.
The highlight of the day was just being at John’s home, chewing the fat and exchanging ideas in good company with lovely figures and over nice terrain. I hope to get the chance to have a game with John again when I next visit Melbourne unless I can persuade him to make a trip across the ditch to NZ beforehand.
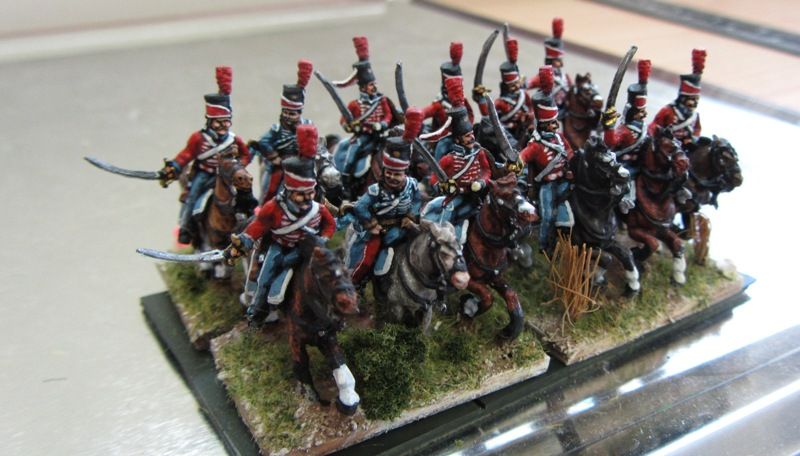
I also used the opportunity to grab a few photos of just a part of his collection about which he’s pretty modest. I’ve attached a few below….


Lovely figures and a beautifully presented game. Thanks for showing your excellent photos of it and the amusing account.
Wonderful report Kerry – looks like a great game!
Great looking game and beautiful figures. Very photogenic. Thank you for sharing with us.
Quite the experience Valleyboyo and quite the collection Mr Baxter. Sometimes the game provides the setting for a great time. More more! 😃
Salute
von Peter himself